Floorquilting is a relatively newer craft, with techniques that I have significantly improved on throughout the years.... I have found, through trial-&-error, that there are more materials that can be used, and there are "solutions" to common floorquilting problems--problems that were previously left unsolved. Following, are a few of the most frequently asked questions that I receive:
Question: What canvas should I purchase? I've read that you should only purchase canvas that is primed on one side.
Answer: There are a variety of canvas available that you can use--raw, primed on one side, or on both sides. What you want to search for is a heavy-weight, 12 oz. or heavier cotton duck. This canvas is heavy enough to lay flat without the edges rippling or curling. If you choose pre-primed floorcloth canvas, such as Fredrix Floorcloth Canvas (pre-cut, 2' x 3'), adhere your treated fabric shapes onto the side that has just one coat of primer--not the side that has two. This side is more porous and textured, allowing for better adhesion and absorption of excess moisture from the decoupage medium. Raw canvas, what I also use, is less expensive, but will need to be primed on both sides. If it is folded, it will have creases, but these can be minimized with an iron. Canvas that is primed on just one side will need to be primed on the raw side. Always allow your decoupage medium and water-based finishes to thoroughly dry between coatings.

Fredrix Floorcloth canvas comes pre-primed and cut to a perfect 24" x 36" size--an ideal floorquilt size. Some of my best pieces were made on this canvas. Piece your fabrics on the side that contains one coat of primer (see above).
Question: Can I use fabrics that are "other" than 100% cotton?
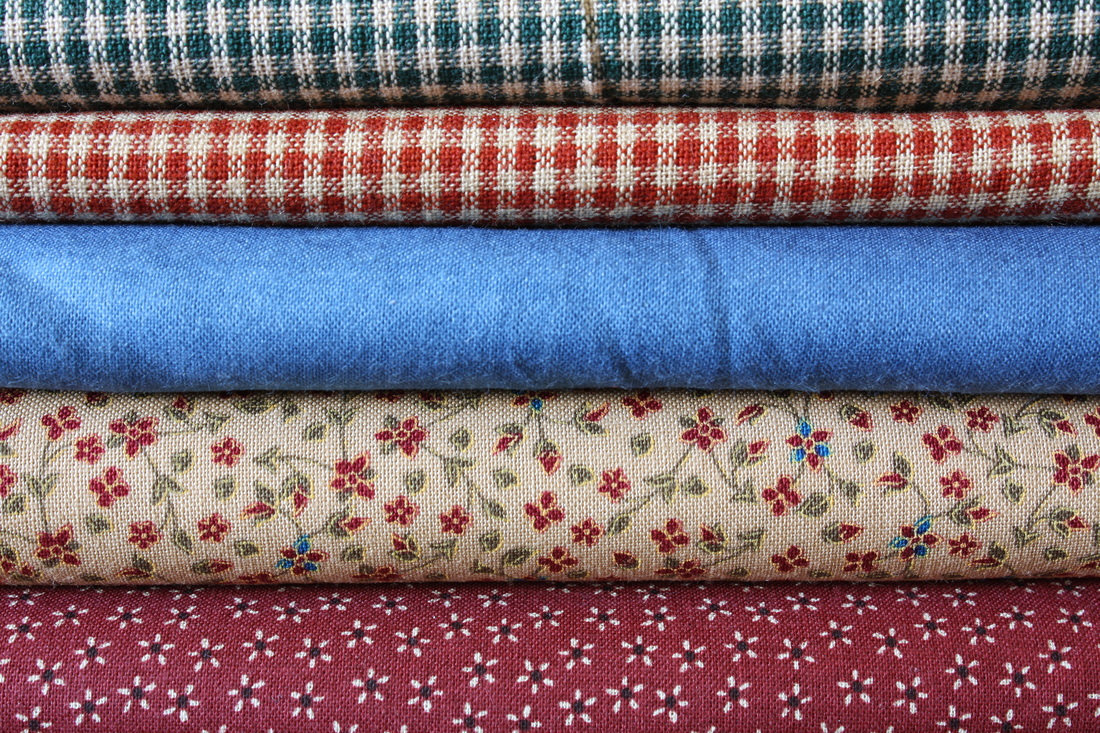
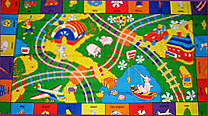
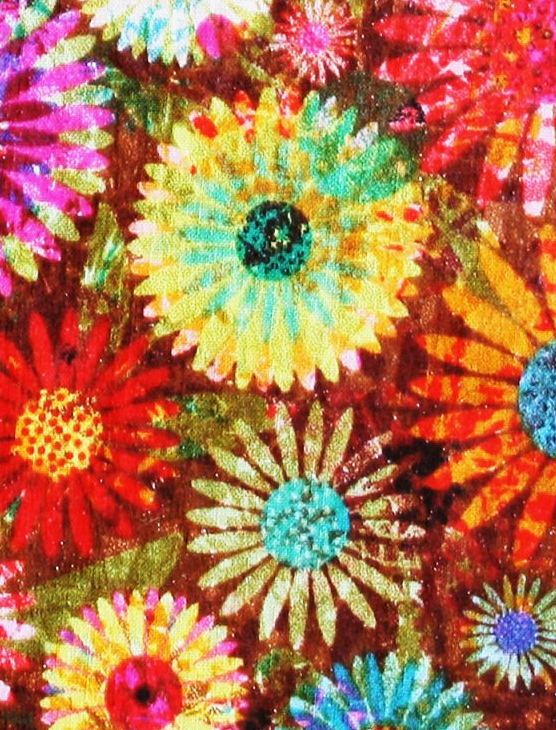
Answer: Yes, just make sure that your fabrics are smooth, with a firm weave. Avoid any that are too loosely woven, stretchy, or that ravel easily. Fabrics that have a higher ratio of cotton will give the best results. Cotton also tends to adhere more easily to the primed canvas, and to other cotton pieces when treated with a decoupage medium. When it comes to cotton, there are many fabrics to choose from. In fact, just about any color and print can be found--from floral, geometric, and abstract prints, to conversational, folkloric, and scenic. Many of these can be found online, like on Ebay. Some of my favorites are the colorful fabric panels with playful themes for children, such as roadway, animal, and alphabet themes. It's fun to turn these fabric panels into durable playmats--no wrinkles, and the toy cars sail across the fabric....
"I'm not greedy...I'm just materialistic!"
Question: What is the preferred "water-based" finish for floorquilts?
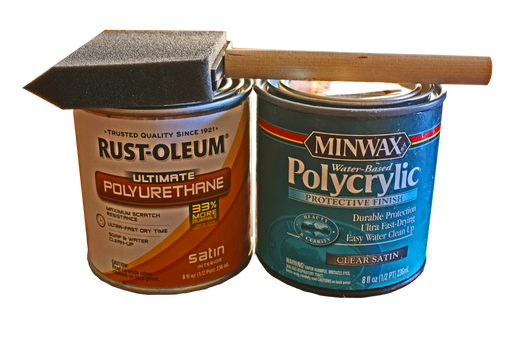
Answer: Water-based finishes have significantly improved over the years, and with advancing technology, newer additions are constantly appearing on the market. These finishes often consist of acrylic, polyurethane, or a mixture of both. The addition of polyurethane to the acrylic in many mixtures makes the finishes more durable and more flexible--ideal for a floorquilt. For the moment, I use a water-based polyurethane from Rust-Oleum, called Rust-Oleum Ultimate (Satin). Although it is water-based, it does leave a very slight amber hue (derived from soybean oil), and so is not recommended for use over bright white or light colored fabrics. For white fabrics, I use Minwax Polycrylic (Satin). This mixture of acrylic and polyurethane will dry crystal clear, and will never yellow with age. The polyurethane, I feel, is more flexible and leaves a smoother finish.
Question: What kind of paint brush would work best? and how do you suggest using it?
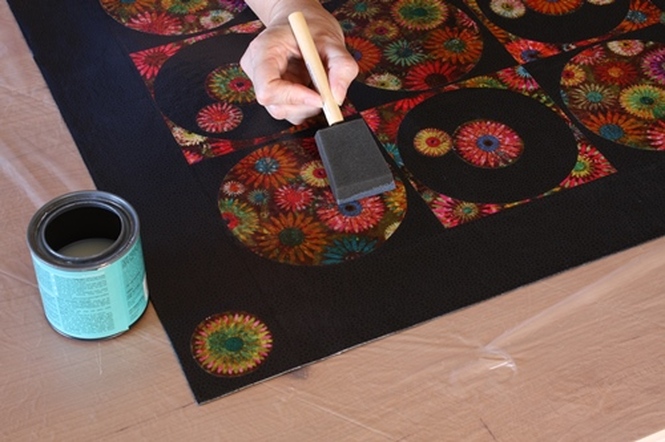
Answer: You can use either an inexpensive (medium-size) foam brush (above) or a synthetic bristle brush. I use one size larger than the foam brush below for a 24" x 36" floorquilt. Make sure your brush is clean, and free of lint, hair, etc. Before you begin, you will want to stir the can of water-based finish with a paint stirrer slowly and gently until thoroughly blended. Do not shake the can, as this will cause air bubbles within the finish. Make sure your brush is well-loaded to avoid skips and streaks, then apply an even coat (not heavy), brushing steadily in one direction. Avoid over-brushing, as this can also cause excess bubbles and streaks. If you are using a polycrylic finish, make sure that your coat is "thin" and even, and allow the polycrylic to dry for 24 hours between applications. It's also a good idea to "lint-roll" your brush and floorquilt surface before you begin.
Answer: You can use either an inexpensive (medium-size) foam brush (above) or a synthetic bristle brush. I use one size larger than the foam brush below for a 24" x 36" floorquilt. Make sure your brush is clean, and free of lint, hair, etc. Before you begin, you will want to stir the can of water-based finish with a paint stirrer slowly and gently until thoroughly blended. Do not shake the can, as this will cause air bubbles within the finish. Make sure your brush is well-loaded to avoid skips and streaks, then apply an even coat (not heavy), brushing steadily in one direction. Avoid over-brushing, as this can also cause excess bubbles and streaks. If you are using a polycrylic finish, make sure that your coat is "thin" and even, and allow the polycrylic to dry for 24 hours between applications. It's also a good idea to "lint-roll" your brush and floorquilt surface before you begin.
Question: How do you design a floorquilt?
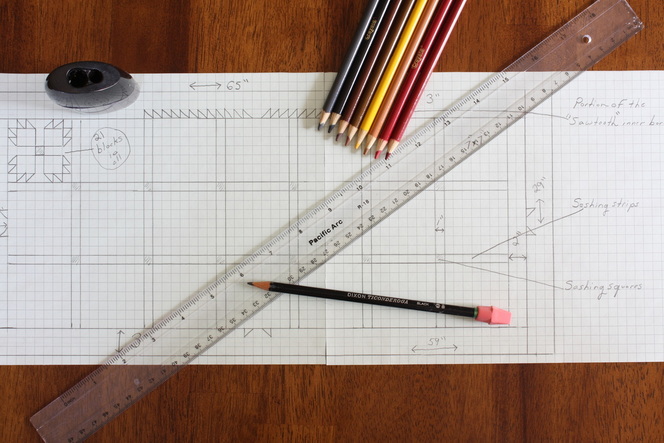
Answer: Whether a simple and traditional combination of squares, or an expressive arrangement of assorted shapes, there are many design possibilities, and none are too difficult to attempt. I recommend using graph paper to draft your designs. Each equal-sized square on your paper may allow for one inch on your floorquilt. Most patchwork block patterns can be drafted onto this type of paper. Pay close attention to color when designing your floorquilt, and think seriously of color arrangement in relation to the room your floorquilt will occupy. An artist set of colored pencils with a variety of colors can better help you plan your design. You can also use construction paper or photocopies of fabrics to make a preliminary design. You may rearrange, add, or leave out any pieces. Remember, you are the artist! Don't forget to check out quilting, art quilt, and design books, magazines, and websites for additional design ideas and inspiration.
Question: Can I use these techniques to make a wall hanging? or something else?
Answer: Of course. Fabric decoupage has been around for many years--it's only recently that fabric decoupaged canvas has been placed on the floor. (Why, even Picasso pasted a patch of fabric with a chair-cane design onto canvas, on his piece "Still Life with Caning.") I often make fabric decoupaged wall hangings. In fact, many of my floorquilts find their way onto my walls. Three damage-free hanging strips will attach a fabric decoupaged piece of art to just about any wall. What's especially nice, is that you can easily wipe these clean, just as you would a floorquilt. You can construct these in the same manner as you would a floorquilt, only you do not need to apply a non-skid additive or backing. You can make pet dish mats, place mats, table runners, and even coasters, all in the same manner as you would a floorquilt. Smaller projects, such as bookmarks and bag tags, can be constructed with just two layers of fabric, decoupaged back-to-back, then coated and sealed just as you would a floorquilt. "Off-the-Floor" projects are also included in my guide, and are a joy to make.
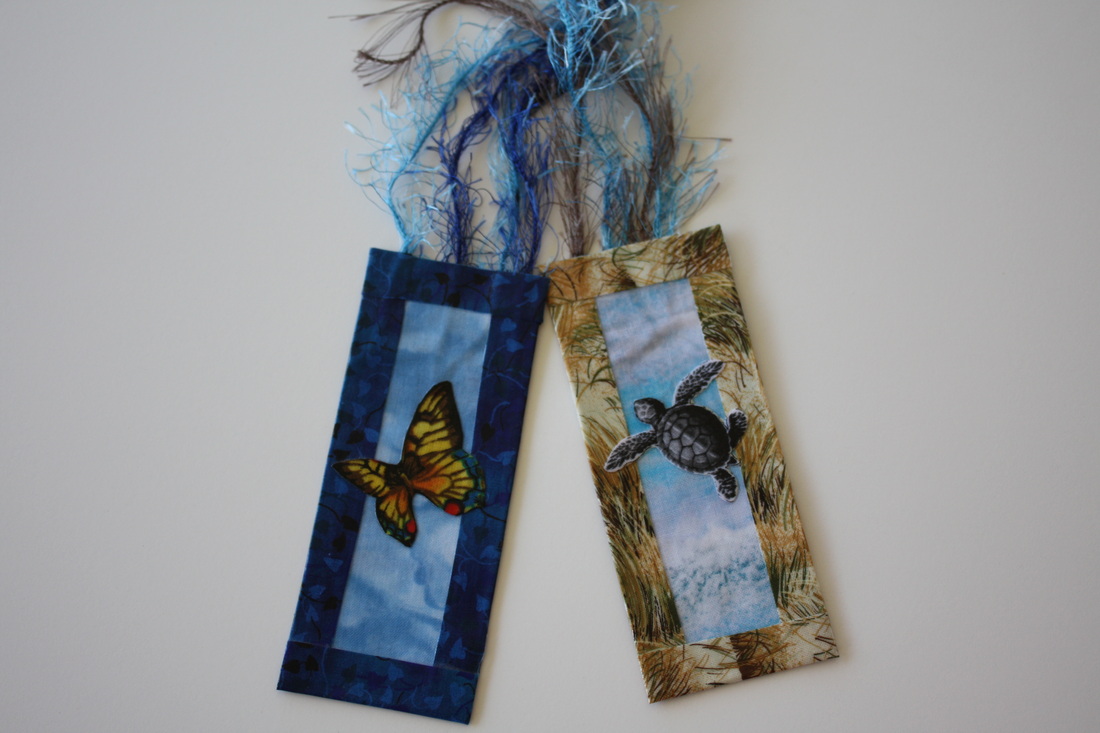
The techniques used to make floorquilts were also used to create these unique and stylish fabric decoupaged bookmarks.
"Accuracy and patience is the secret to successful floorquilting."
